| quick mock up. |
***this blog is in chronological order. click on "older posts" at the bottom to continue to newer posts*** frankencam is a research project based around trying to build a manual digital "frankencam". if you are interested or want to get involved or have a project you want me to get involved in or want to go for lunch and talk about this stuff ; ddashk@hotmail.com
Saturday, 16 October 2010
Friday, 15 October 2010
Thursday, 14 October 2010
| getting read to cast. some pewter i already cast and a brand new ingot. |
| there was some bubbling caused by a piece of wood that was in the plaster. it lest this weird crystalline lump on top. |
| here is how it looked after breaking the mould. it had a nice light gold kind of colour. |
| this is how it looked after the first round on the sander. there are some imperfections here and there but it is not bad considering the rush in which i made it. |
| here it is with the wooden one just before it gets a final polish. |
| the imperfections really show up once it is polished. the pewter has a really nice feel to it. |
| bit of delicate filing to fit the lens. i could not get a thread cutter this big so i just made the hole slightly smaller than the thread so it just bites a bit. |
| and thats basically it. |
Wednesday, 13 October 2010
Tuesday, 12 October 2010
| as you can see i went for the thinner, red nut. i just drilled the hole slightly too small and worked it on slowly. |
| the lens held securely in place. |
| another view. you can see that the lens is miles over to the left and quite high. that is the down side of using donor cameras. but building from scratch just wont happen in my timeframe. |
Monday, 11 October 2010
here are three shots of a foam prototype. it has some features that im pretty sure i want to include in the final piece.
Sunday, 10 October 2010
| foam model ready to be dipped in paint. white model white paint but it should improve the texture and stop the polystyrene flaking all over the place. |
| another foam model. here you can see the raised viewfinder and angled cutaway for the shutter release. the near bottom corner is rounded to make using the lens easier. |
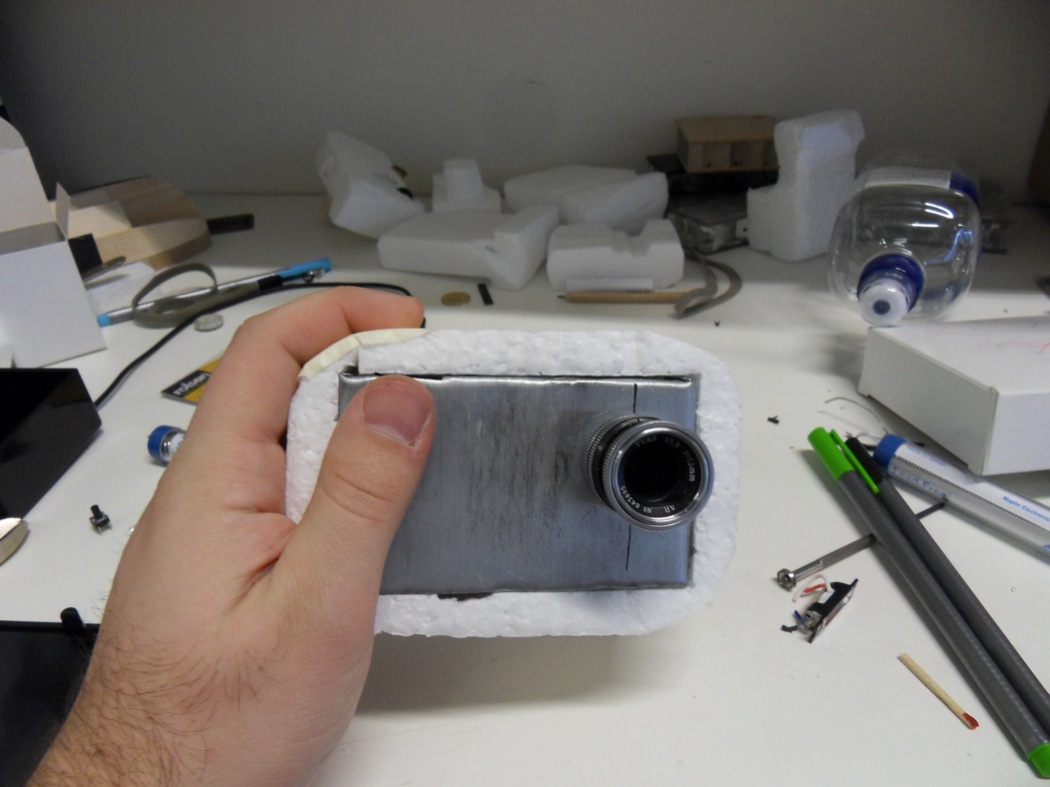
| the two models after a couple of dips in the paint. its quite a nice texture to hold. |
| some card shoe inserts i saw outside a shop on the way to college. going to try moulding a camera from it. |
| got some marker on it. |
| same one again. the join line around the camera is so heavy because i intend to have the internal chassis show through where the two halves of the camera meet. |
| soaking some of the shoe card in water. in the left are two halves of a foam camera to mould it onto. |
| went alright. ill see on monday when its dry. hard to work it without it just falling apart. |
Saturday, 9 October 2010
| this is the guts of the working prototype. hooked up as a webcam to set the flange distance. |
| shutter in red and power in black. |
| one option is to encase it in foam like this. feels nice because its a bit squishy. |
| just enough space to fit the small floating pcb and the switches. |
| what an utter mess. im not great at soldering and this is very fiddly. this is so i can use my own switches for power and shutter move the mode dial to a part of the box with more space. |
| all in. what a faff. couple of late ones in the studio but it does take photos. |
Friday, 8 October 2010
first set of pictures taken with the camera in the project.
| lights taken from the bus. dont know if the pulse effect is from the light of the camera. |
| my face. this is not as bad as it looks. it was taken on a night bus the only light os the reading light from the people across the aisle. so its a terrible photo but hard conditions for any camera. |
| dodgy shot of the studio. not good but it does show that the field of view is much improved over earlier versions. |
| reubens daffodils. |
Thursday, 7 October 2010
Subscribe to:
Posts (Atom)