


***this blog is in chronological order. click on "older posts" at the bottom to continue to newer posts*** frankencam is a research project based around trying to build a manual digital "frankencam". if you are interested or want to get involved or have a project you want me to get involved in or want to go for lunch and talk about this stuff ; ddashk@hotmail.com
 |
| starting with foam and then to plaster. wooden insert suspended in mould. cast in pewter. finished on belt sanders and polishing wheel. sheet of acrylic sandwiched in between. both pieces are screwed to this sheet. the acrylic is to represent the plastic chassis i intend to screw the final shells onto. |
 |
| quick mockup with kodak model 60 lens and doorviewer viewfinder. can't beat the old blu-tack. |
 |
| bought a broken eos 10d off ebay. the plan is to build a new version of skipcam (the one in the black project box). the skipcam was fine but not actually capable of representing the camera im possibly going to design. basicaslly i need to build to make a working prototype which allows users to test the functions i have identified as essential to my camera. by using the 10d with its two control wheels i should be able to do this. i plan to use a carl zeiss tessar 50mm 2.8. this will place the aperture and focus controls on the lens. the two scroll wheels will be used for iso and shutterspeed. shutter release for shutter release. viewfinder for viewfinder. rather than encasing the camera in box im goung to vac form a white shell for it. the entire camera will be on smooth blank shape with cut-outs for the button i want to provide access to. |
 |
| had to go pretty deep to get the faulty card reader unit out. |
 |
| broken pin up there by the chip. |
 |
| the lens i intend to use. |
 |
| heres how the appearane prototype is coming along. cast in pewter with lens from praktica in a deodorant bottle casing. the rubber grip is from a prakticar 50mm. viewfinder is an eraser partially painted black. shutter release from a marker. |
 |
| shot taken with the current working prototype. hopefully will get the next version going soon enough. |
 |
| at this stage in the day the camera was still in bits for repair so i just taped the various panels on. i ended up cover tonnes of the camera in tape. i used it to smooth out features and generally mask any details. i knew the texture of the crumpled tape would show through the vac formed plastic but i though this would lend a nice "proptotypey" feel to the finished camera. |
 |
| here you can see the tape over all the buttons and hotshoe. |
 |
| the vac former. there is a short video at the end of this post of it in action. |
 |
| the two shells and the camera. the shells are rough because i just trimmed them enough to get them off the camera. i then fitted them using a sharp knife (pictured ) and a bobbin sander. |
 |
| after the workshop and the vac forming i felt quite good about this prototype so i stopped off in town on the way home and forked out the cash for a replacement cf reader unit. took about ten mins to install it and rebuild the camera. i had taped each screw to a sheet of paper in the right formation and labeled them so it was pretty hassle free. unbelievably it came on first time. i left my cf card in the studio so i havent taken any photos but the shutter is firing and it seems to be working. |
 |
| here is the camera in its ps housing. i think it came out quite well. all of the details have disappeared. its just a whit blob in a vaguely camera shape. i cut holes for what i have decided are the essential features. hopefully i got them right. just need to find someone to use the camera and see how it goes. |
 |
| right this should be the final cast. been working on the shape and i think this is it. |
 |
| quick rough out in foam. its quite hard to get the concave curve on the grip. |
 |
| did it in wood instead. easier to be accurate especially with the state of our studio hot wire. |
 |
| coming along nicely. the concave curves are easy with a sharp carving gauge. the parallell lines will the lost in the saw draft and gained with the plastic chassis. |
 |
| glued on the raised mount area and cut it in half seems so counter intuitive to run it through the saw. |
 |
| vac formed it to get nice mini fillets on the edges and to give the plaster mould a nice surface. |
 |
| had real trouble getting decent casts from the plaster moulds this time. managed to get a pair a bit better than these. |
 |
| workshop is shut for two weeks so its back it time we go. |
 |
| sand stone and sandpaper to get the faces flat. this works really well. |
 |
| still some work to be done. the grey camera is made from epoxy putty. i wanted to see what it would be like and possible have it in stock as a backup. |
 |
| got two good faces. decided to pin it together. |
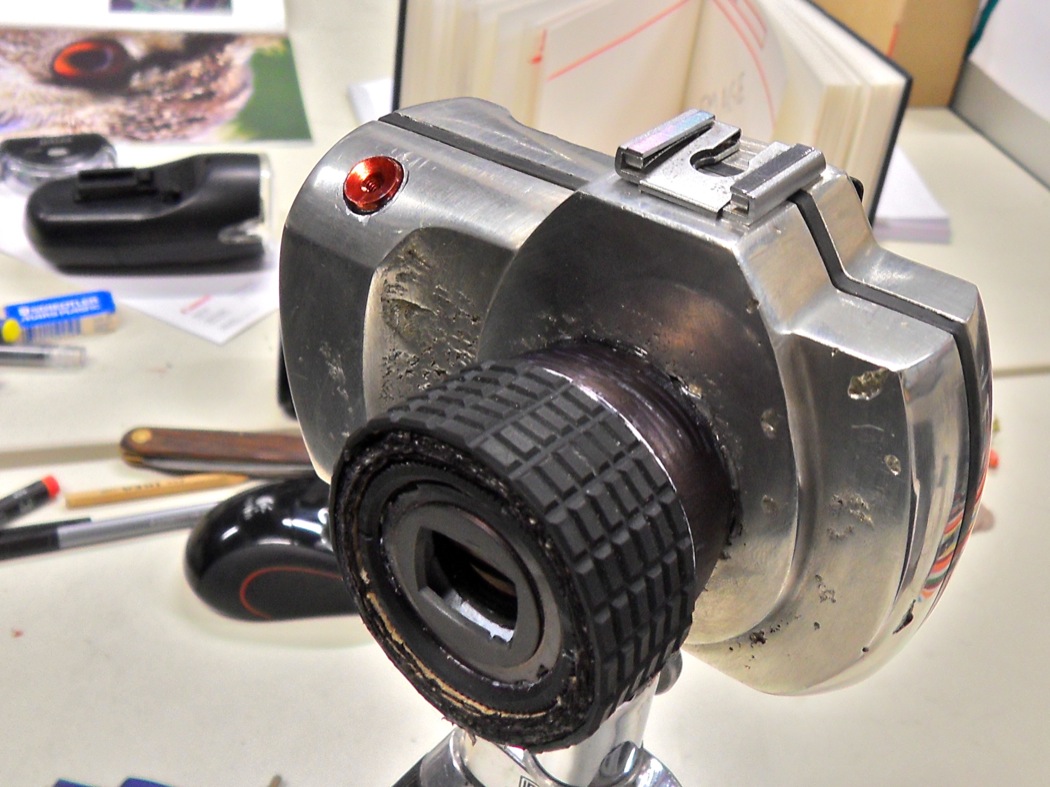 |
| thats basically as far as im going to go with this one. its covered in inclusions and all sorts. also i bought a micro four thirds lens and it looks to big on the camera so im going to enlarge it slightly and try casting it in silicone. |


 |
| starting again. a bit bigger this time and i got some silicone. |
 |
| vacformed in ps. |
 |
| that silicone is messy stuff. almost ran out so had to pack out the corners. |
 |
| disaster. it came out worse then it had in the plaster moulds. |
 |
| spent all day and about twenty casts before i found out about talc in the mould. this is a quick test and it works. |
 |
| got the front cast at home over the weekend. |
 |
| after some sanding and cutting out the hole for the lens mount. |
 |

 |
| heres a close up of the shutter speed dial. as im taking the picture with my left hand you can see how the camera is supported in my right even with the thumb free to move the wheel. |
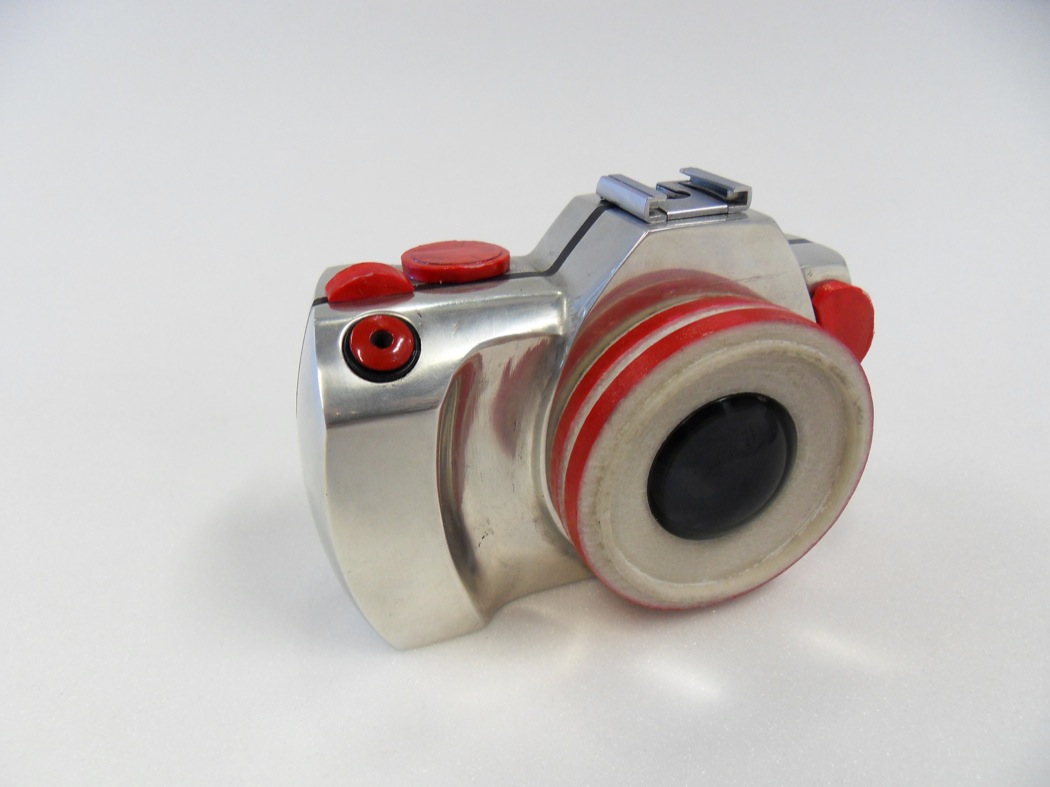 |
| new lens. as part of an effort to highlight the physical control interface as the most important part of my design i have stripped off the canon logo and replaced the lens with a rapid prototyped pancake. still waiting for the knobs and dials to arrive so these are carved fron a pencil rubber and painted. |


